Quick answer
| Best fit | Cinema and commercial builds already running rails and a matte box |
| Typical cost | High — this sits at the professional end of prompter hardware |
| What matters most | Front diameter compatibility and total balance once everything is on the rails |
| Skip it if | You shoot on a simple tripod build, where a standard over-lens rig is far less work |
What this setup is really for
On a rails build the prompter has to coexist with hardware that is already occupying the front of the camera. A matte box takes the space directly ahead of the lens; the prompter wants that same space. Resolving that is a planning problem involving rail height, rod length, front diameter, and the order in which things mount.
Front diameter is where most compatibility questions land. Clamp-on matte boxes and prompter mounts are both sized around specific front diameters, and mixing components sized for different standards means adapter rings — which add length, and length forward of the lens is exactly what the rig has least of.
The last piece is balance, and on a full cinema build it is not optional. Rails, matte box, follow focus, prompter glass, hood, and a prompt monitor all add up to a substantial forward load. The shoulder rig or tripod head has to carry that without sagging, and the plate usually needs to move back to compensate.
Where it fits — and where it does not
Works well for
- Commercial and corporate shoots already built on rails
- Long-form interview and presenter work with a fixed camera position
- Productions where matte box filtration and prompting are both required
- Crewed sets where someone else can operate the prompt
Struggles with
- Mixed-standard components requiring stacked adapter rings
- Lightweight tripod heads unable to hold a fully loaded front end
- Fast-turnaround work, where the build and rebalance time is prohibitive
What to check before you buy
| Front diameter | Match matte box and prompter mount to the same standard where possible |
| Rail standard | Confirm rod spacing and diameter before ordering any bracket |
| Rod length | Longer rods are usually needed once both matte box and prompter are in front |
| Stacking order | Decide what mounts first; retrofitting the order later means rebuilding |
| Balance | Expect to move the plate back significantly and to need a head rated well above the load |
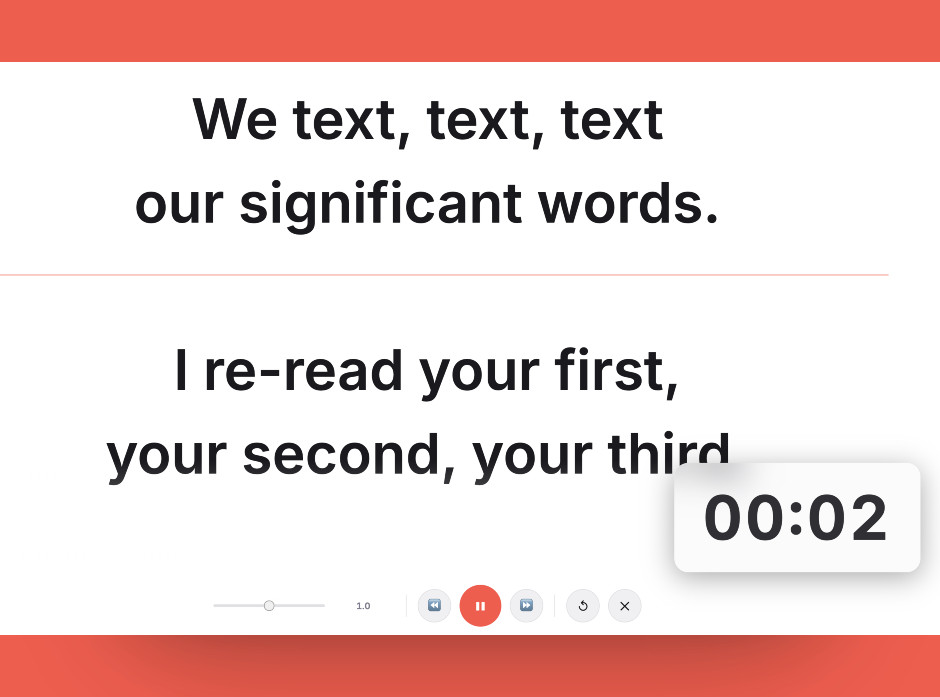
Confirm the script is readable at the presenter's real distance before committing to where the prompt monitor sits in the rails build.
Setting it up
- Map the front of the rig on paper
List everything that has to sit ahead of the lens with its length, then check it against your rod length. Discovering you are short by a few centimetres on set is an expensive way to learn this.
- Settle front diameters and rings
Match components to a common front diameter where you can. Every adapter ring adds length and one more thing to lose.
- Build in the intended order
Mount from the camera outward, checking clearance at each stage. Matte box and prompter both want the same space, so the order determines whether the build works.
- Rebalance the whole assembly
Slide the plate back until the loaded rig sits over the head. On a shoulder build, check the counterweight and the shoulder pad position too.
- Test the full frame for intrusions
Shoot at your widest intended focal length and check the corners for matte box edges, prompter hood, and any filter frame creeping into shot.
Common mistakes
Each adapter ring adds length in the one direction you cannot spare, and stacked rings introduce alignment problems as well.
The rods that came with the build are usually sized for the matte box alone. Adding a prompter almost always needs longer rods.
A fully loaded front end on an under-rated head sags during moves and creeps between takes. Size the head for the assembled weight, not the camera.
Frequently asked questions
Can a teleprompter and a matte box be used together?
What front diameter do I need?
Will I need longer rods?
How much does this affect rig balance?
Is matte box mounting worth it over a standard prompter rig?
Test the workflow before buying more gear
Open the ScriptScroller browser teleprompter, put it where your script would actually sit, and find out which of these problems you really have.
Open Teleprompter